Sealing an RV roof leak with butyl tape
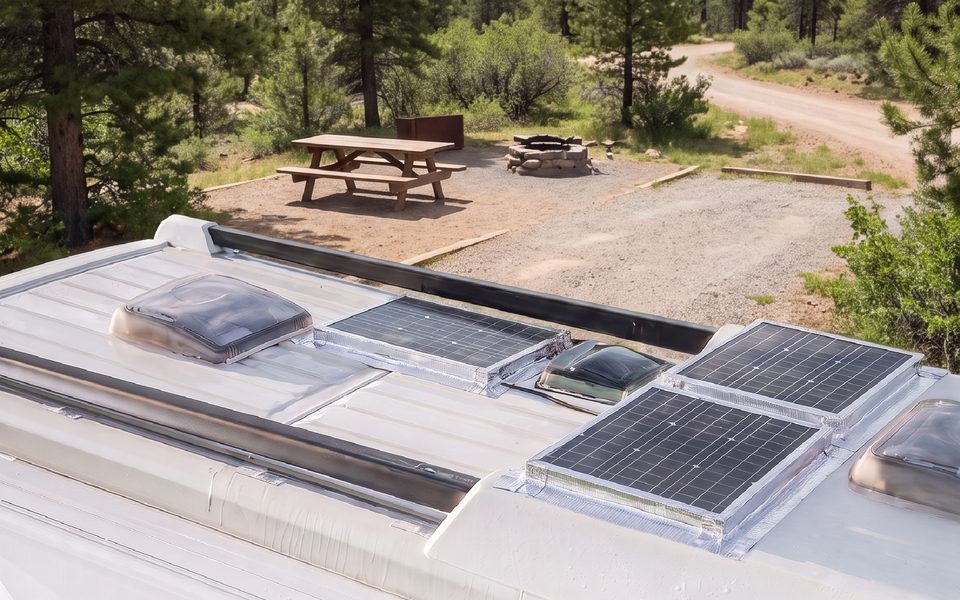
Most RV roof leaks start at a seam: where a vent, skylight, antenna or the roof edge meets the membrane. Sealant around those fittings dries out and cracks with sun and temperature swings, and water finds the gap. Butyl tape is a quick, flexible way to seal them because it stays tacky and moves with the roof.
Before you start
- Work on a dry day. Most repair tape needs a dry, clean surface, and a roof is rarely both after rain.
- Check your roof material (rubber, TPO or fibreglass) and your RV maker’s guidance on what can go on it.
- Be safe up there: use a sturdy ladder, stay off skylights, and walk only where the roof is designed to take weight.
Step by step
- Find the source. Water stains inside often appear a long way from the actual gap. Look on the roof above and uphill from the stain, around every fitting, for cracked or lifted sealant.
- Clean the area. Scrape off loose, cracked sealant and dirt. Wipe with a cleaner suitable for your roof material and let it dry completely.
- Measure and cut. Cut the tape long enough to cover the seam with a generous overlap at each end.
- Apply as you peel. Peel the liner as you go rather than all at once. Lay the tape centred over the seam.
- Press it down. Press the centre first, then work outwards to push out air. A small roller helps it bond, especially on textured surfaces.
- Check after the next rain. Look inside for new staining and on the roof for lifted edges.
Make it a habit: check every roof seam in spring and autumn. Catching a cracked seal early costs a roll of tape. Catching it late can mean a soft, rotten roof deck.
Shop leak and repair tapes, including aluminium-backed butyl tape for roofs, gutters and awnings.